Using Mounting Brackets
The procedure below describes how to mount the device in a 19-inch rack. Rack mounting involves placing the device on a pre-installed rack shelf and then attaching the device's mounting brackets to the device and rack frame. The purpose of the mounting brackets is to secure the device to the rack.
Two mounting brackets are provided:
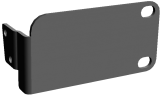
Left Mounting Bracket
|
■
|
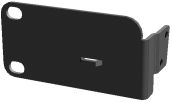
Right mounting bracket with hole for looping through an optional cable tie (not supplied) for securing cables: |
Right Mounting Bracket
|
➢
|
To mount the device in a 19-inch rack using mounting brackets: |
|
1.
|
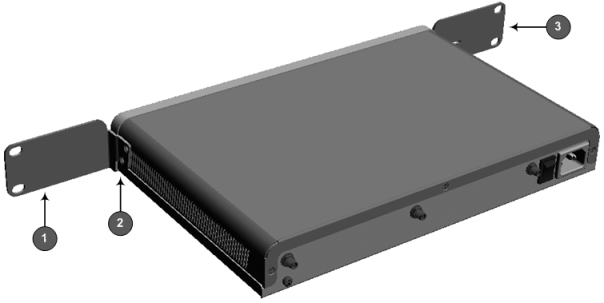
Attach the two mounting brackets (supplied) to each side of the device's chassis, using the supplied screws, as shown in the following figure: |
Attaching the Mounting Brackets
|
●
|
1 = Left mounting bracket |
|
●
|
3 = Right mounting bracket |
|
2.
|
Place the device on a pre-installed shelf in the rack. |
|
3.
|
Attach the ends of the mounting brackets (that you installed in Step 1) to the vertical track of the rack's frame, using standard 19-inch rack bolts (not supplied). |